One of the options for adjusting the pattern of a straight skirt in accordance with the features of the figure: we use the model (probe) of the product.
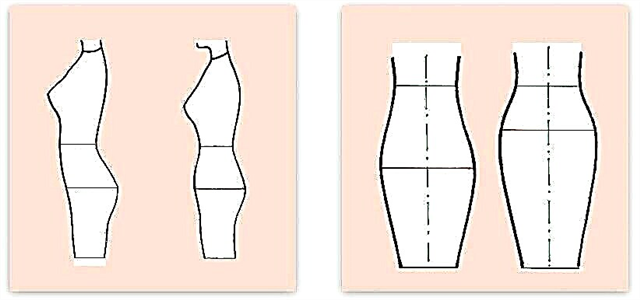
Such adjustment of the skirt pattern will help to achieve a better fit for the owners of not the most standard figures (for example, with a significant difference between the waist and hips than in standard patterns, with a protruding or flat stomach, with convex buttocks and vice versa).
How to align the hem: tricks and tips
You will need:

- a printed pattern of a straight skirt or paper, a pencil and a ruler for its construction;
- fabric for a sampler of a skirt;
- tape measure;
- marker or tailor's chalk;
- tailor pins;
- needle and thread for hand sewing;
- ruler;
- scissors.
How to build a pattern of a bell skirt: a master class
Step 1
Use your current straight skirt pattern or one of these:
- Special offer

- 1
- 2
- 3
- 4
- Special offer

- 1
- 2
- 3
- 4
- Special offer
- 1
- 2
- 3
- 4
Step 2

Add about 2.5 cm of allowance for the cuts of the pattern, 4 cm for the bottom. Cut out the details from the fabric fabric: the front panel - 1 part with a fold and the rear panel - 2 parts.
Step 3

Sweep the back seam and side seams from the bottom line to the hip line. Slip the probe outward. Chip the back seam and side seams with pins, following the lines of the figure and avoiding skewing of the fabric. In front, place your right hand on the waist on the side on the right, and the left on the center of the abdomen. Without strong pressure, move your hands towards each other, collecting fabric: a right front tuck from the waist cut is formed. Pin it with a pin and repeat with a second tuck.
Step 3

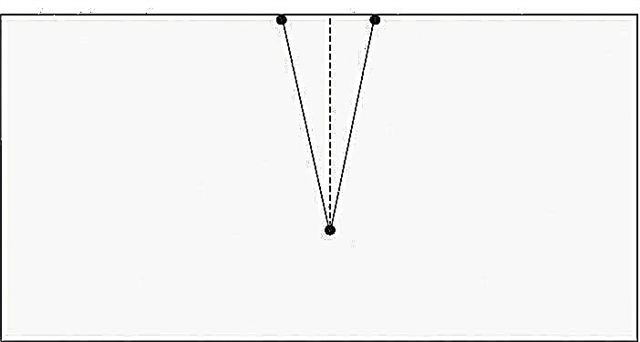
The most interesting thing is the determination of the position and depth of the tucks of the rear panel of the skirt. Ideally, I need help here: to see ourselves from the back is not always easy. So, you need to find the most protruding points of the buttocks. From these points tucks will begin. First you need to look at the buttocks from the side, and then from above, and mark with a small or marker on the tissue the intersection of the lines where the buttocks are most convex. Having set the points on the right and left rear panels of the skirt, mark the rear tucks in the same way as the front ones, and pin them with pins.
Step 4

Check the side seams. They should go strictly vertically. If this is not the case, adjust them by rearranging the pins.
Step 5

Marker for tucks with a marker, outline the lines of the side and back seams. Now you can remove the pins and remove the probe.
Step 6
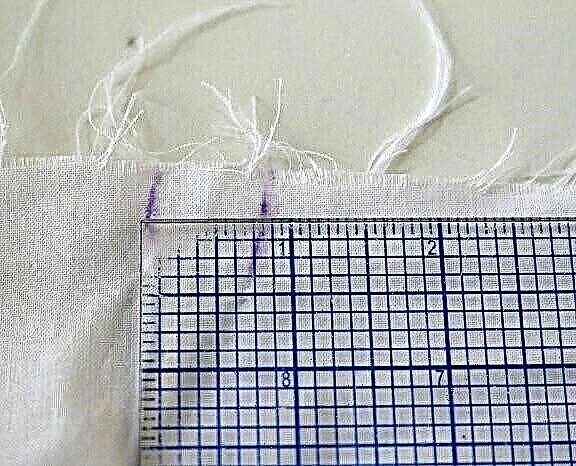
It remains to measure the marks on the probe and transfer them to a paper pattern.
Photo and source: ageberry.com, mellysews.com