With this workshop we will begin a series of instructions for modeling sleeves. Today we will look at how quickly and simply you can reduce the okat fit of any set-in sleeve based on Burda patterns.

There are two approaches to changing the fit around the sleeve's overshot: changing the bodice armhole and changing the overshoot itself. In this master class we will consider the second approach.
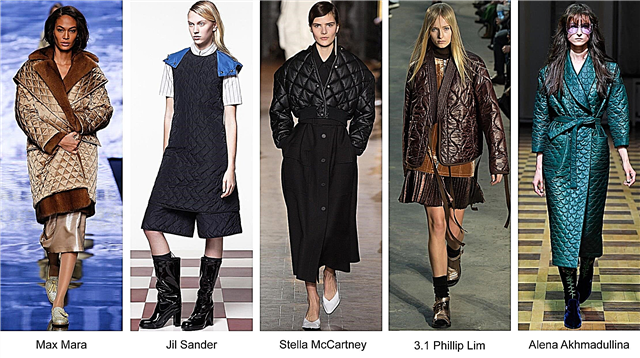
In this and subsequent workshops on sleeve modeling, we selected model 124 from the magazine as the basis Burda 11/2013:
- Best-seller
- Special offer

- 1
- 2
- 3
- 4
You can also use other Burda patterns with the usual set-in sleeve of a small volume:
- Special offer

- 1
- 2
- 3
- 4
- Best-seller
- Special offer

- 1
- 2
- 3
- 4
- Special offer

- 1
- 2
- 3
- 4
- Best-seller
- Special offer

- 1
- 2
- 3
- 4
You will need:

- paper for drawing (whatman paper, graph paper, tracing paper);
- a pencil;
- ruler;
- measuring tape;
- paper scissors;
- glue or adhesive tape;
- fabric for the manufacture of the layout;
- tailor pins, scissors for fabric, thread, needle.
Types of sleeves: understand the terminology
Step 1

Prepare patterns for the details of the front and back. If you need to make any adjustments to the patterns of these details, then make them at this stage.
Step 2

Prepare a sleeve pattern: transfer it to a piece of paper and cut it out. Move all the tags.
Step 3

Using a measuring tape or flexible ruler, measure the armhole of the front and back.
The lengths of the armholes of the front and back in my pattern coincided and amounted to 22 cm.
They can be different, this is normal: most often the length of the armhole of the back is greater than the length of the armhole of the front.
Step 4

Using a measuring tape or a flexible ruler, measure the length of the sleeve ridge in front of and behind the highest point of the okata.
The length of the sleeve ridge in front and behind in my pattern coincided and amounted to 23.5 cm.
Thus, the fit of the sleeve on the okat is (23.5 + 23.5) - (22 + 22) = 3 cm (1.5 cm front and rear).
Note:
the sleeve fit rate may depend on the model selected, the type of product and fabric, it can be from 0.04 to 0.15 cm fit per 1 cm armhole.
For further modeling, I do not need such a big landing. I want to halve it.
Step 5

On the sleeve pattern, draw a straight line connecting the lower points of the armhole - direct AO.
From the highest point of the bend of the sleeve to the straight line AO, drop the perpendicular - point B.
Step 6

We cut the pattern of the sleeve along the lines obtained: first, vertically to point B, and then along the AO line, not reaching 1-2 mm to the lower points of the armhole of the sleeve.
Now, spreading to the sides or reducing to the center of the obtained halves of the okat, we can increase or decrease its length (adjust the landing).
Step 7

I decided to reduce the sleeve fit by 1.4-1.5 cm. To do this, I will postpone 0.7 cm from the highest point of the okata along the line of okat in each direction.
Step 8

And now I’ll bring to the center of the halves of the okat, connecting both points. Thus, I remove the excess landing on the 1.4 cm okay.
Halves of okat can be fixed in this position with glue or tape.
Step 9

Direct AO bent down a bit, this is normal.
Step 10

If we increased the fit of the sleeve, then the AO line curved, on the contrary, up.
Step 11
Thus, we reduced the landing by 1.4 cm, now it is 1.6 cm (0.8 cm front and rear). This is just right for my further modeling.
It remains only to transfer the corrected pattern to a new sheet or immediately to the fabric.

The sleeve pattern is ready.
How to sew different types of sleeves

To assess the fit of the sleeve by okat, it is better to make a model of the sleeve and sweep it into the prepared bodice of the product.
Modeling a lowered bodice based on a Burda pattern
Magnificent accents: how to make unusual puff sleeves
Modeling Tulip Sleeves
We model a sleeve "bishop"
Modeling a sleeve with drapery and a cutout on the shoulder
The author of the master class and photo: Daria Tabatchikova

By education, Daria is a PR specialist and economist, but several years ago she devoted herself entirely to her favorite business - sewing.
She learned to sew from magazines, books and using the Internet, there are also sewing courses in the arsenal, but Daria refers herself to self-taught. She loves to study specialized sewing literature from different years and countries, and then put her knowledge into practice.
At the end of 2017, Daria became the winner of the festive contest from BurdaStyle.ru.
She leads her Instagram page and VKontakte group.
Material prepared by Julia Dekanova